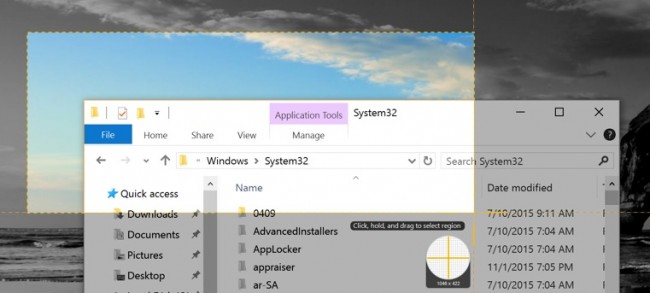
Taking screenshots on Windows is very easy and convenient, but many people don’t know how to take the screen-shot on the computer and usually need an image editor instead. Actually, there are now several ways available on the Windows which allow the users to take screenshots quickly. Here are the detailed instructions to take screenshots in Windows 10.
Several Ways to Take Screen-shots in Windows 10
1. Take a screen-shot of the full screen
- Find and tap PrtScn (Print Screen) button, and you will be able to take a screen-shot of the whole screen which stored in the clipboard
- And then you can paste this screen-shot to the document you want, or you can also choose to save it on a specific location of your computer.
2. Take a screen-shot of the active window
- Press Alt + Print Screen at the same time on the keyboard, the active window willbe taken a screen-shot which also stored in the clipboard
- And then you can open Paint or any other photo editing software, and paste the image to edit and save it on your computer.
3. Take a screen-shot of the whole screen and save it as a file
If you want to take a screen-shot of the whole screen and save it as a file instead of keep it in the clipboard, please tab Windows + PrtScn on your keyboard, and then you will be able to find the screen-shot in the Screenshots folder inside of your Pictures folder.
4. Customize the screenshots with Snipping Tool
Snipping Tool is a desktop app on Windows that enable to you take a screenshot of a specific part of the screen
- Type “snipping tool” into the search box, and select to open it on the computer
- Click on New, and select the area of the screen you want to take a screen-shot via dragging the cursor
- Release the cursor if you finish to capture, and the screen-shot will be found in Snipping Tool