
 Windows App Uninstall Guides I Knowledge(Win) I Blog
 Mac App Uninstall Guides I Knowledge(Win) I Blog
How You Can Safely Uninstall Take-it Still Camera Device - Removal Tutorials
One of the most common problems computer users encounter is that a program can’t be removed. Today let’s see how to correctly uninstall Take-it Still Camera Device in Windows, and I’ll also list the possible reasons that you can’t complete the removal.
Why You Fail to Uninstall Take-it Still Camera Device
If you are unable to completely uninstall Take-it Still Camera Device, the cause could one or more of the following situation:
- Take-it Still Camera Device was not properly or completely installed previously.
- Windows OS is unable to locate the default uninstaller of the program.
- Some of the program files have been deleted mistakenly.
- Related registry entries of the program are corrupted.
- Your computer has been infected by virus and the system does not function properly.
To exclude the above causes, you can try to reinstall Take-it Still Camera Device by downloading it from the official, or perform a full scan with your antivirus product.
Download Windows UninstallerWhat You Need to Do to Correctly Uninstall Take-it Still Camera Device
In this part I have simplified the description of the necessary steps, and then explain them in detail. Hopefully this is the best way for you to learn the whole cleaning process.
1. Before the removal.
- Administrative rights.
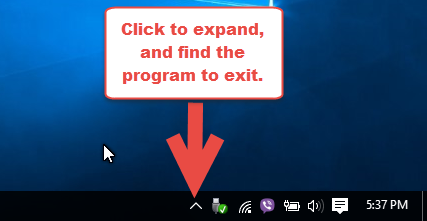
- Make sure Take-it Still Camera Device is not running.
If you’re using the administrator account or an account that has the administrative rights, then you can jump to the next step. Otherwise you’ll need a permission password when making changes in the system > To ensure the removal goes smoothly, check the System Tray in the bottom-right corner to exit the program.
2. Uninstall Take-it Still Camera Device.
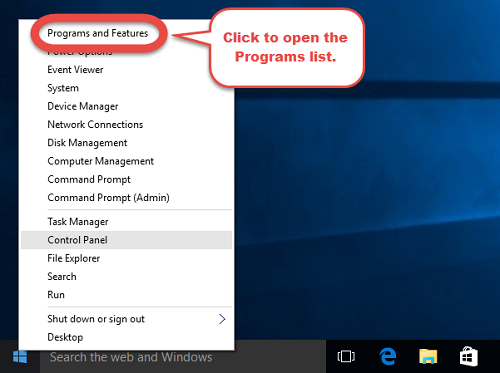
- Open the Programs and Features.
- Activate the removal.
- Confirmation.
- Possibly you’re requested to restart the computer.
To do this, right-click on the Start button, and select Programs and Features > Double-click Take-it Still Camera Device in the list to activate the built-in uninstaller > Confirm the removal > Restart the computer right away or do it later.
3. Search and delete the remaining files.
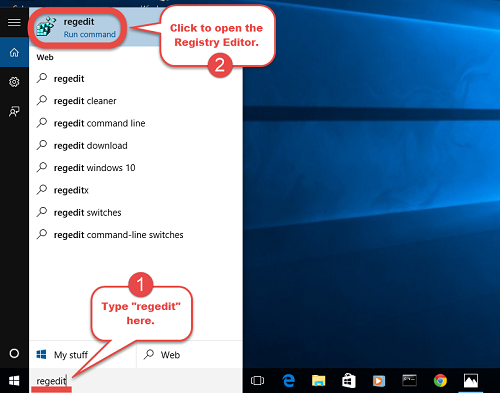
- Open the Registry Editor
- Check for HKEY_CURRENT_USER\Software\(Take-it Still Camera Device or the publisher’s name)\ to delete.
- Check for HKEY_LOCAL+MACHINE\SOFTWARE\(Take-it Still Camera Device or the publisher’s name)\ to delete.
- Search “Take-it Still Camera Device (or the publisher's name)” to check.
- Restart the computer if you haven’t done it.
To do this, execute “regedit” in the search input field to open the Registry Editor > Navigate to this folder: HKEY_CURRENT_USER\Software\(Take-it Still Camera Device or the publisher’s name)\, and delete it if found > Navigate to this folder: HKEY_LOCAL+MACHINE\SOFTWARE\(Take-it Still Camera Device or the publisher’s name)\, and delete it if found > Search “Take-it Still Camera Device (or the publisher's name)” to check if there’s any other leftovers > Restart the computer.
A Simpler Way to Uninstall Take-it Still Camera Device in Windows
Don’t bother to perform the regular steps? Then this would be your best choice - using UninstallService, which manages all the necessary jobs for you, to safely, completely uninstall Take-it Still Camera Device. It’s like breaking open a way through brambles and thorns, there’s no need to worry about the troubles that may appear in the middle of the removal.
I’ll explain every step for you, so that the next time you want to remove a program by using it, you can do it faster:
1. Install UninstallService.
The installation will finish in one minute. Then run the application, it will automatically scan all the currently installed programs and show you in a list.
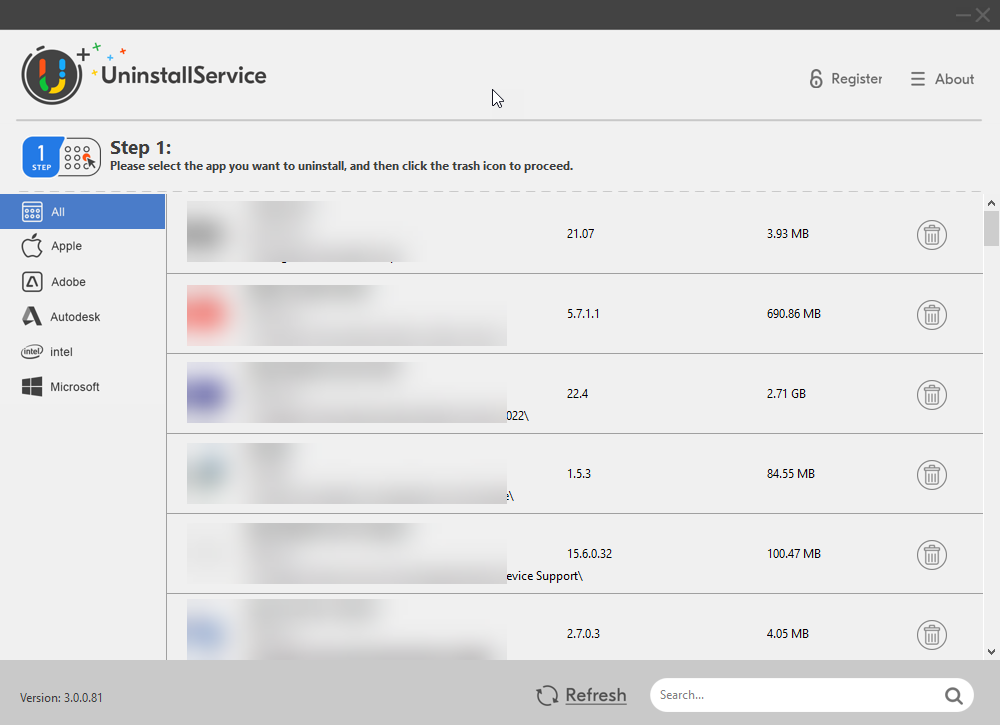
Download Windows Uninstaller2. Select Take-it Still Camera Device to remove.
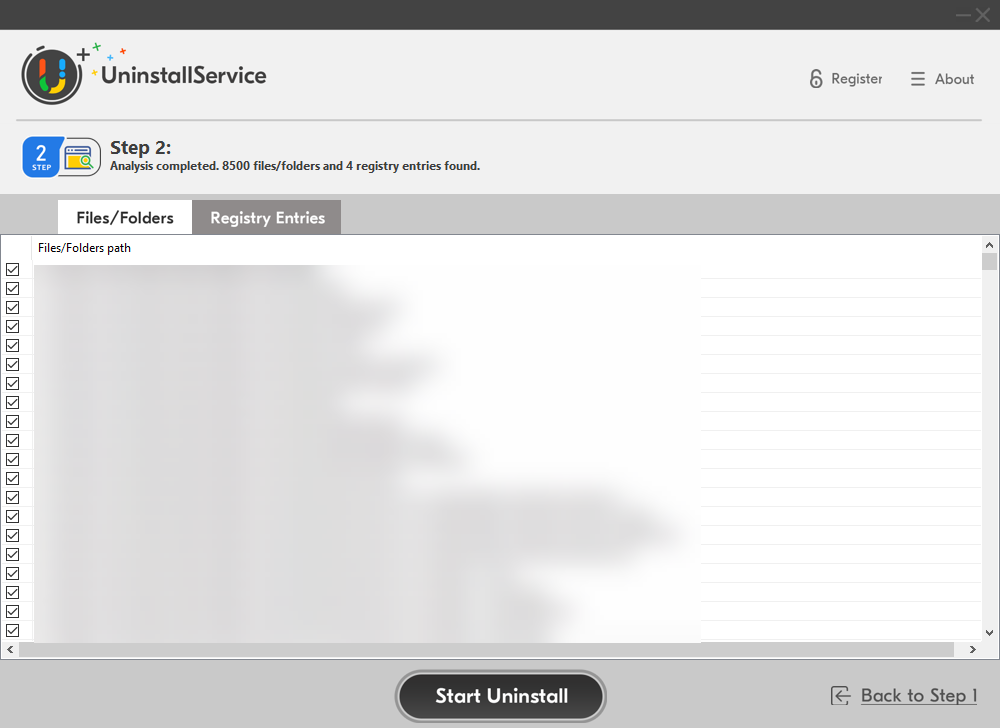
Select Take-it Still Camera Device in the list, and click trash icon on the right. It will locate all the related files of the target program and displays them in a list with details. Just keep the items checked, and click Start Uninstall.
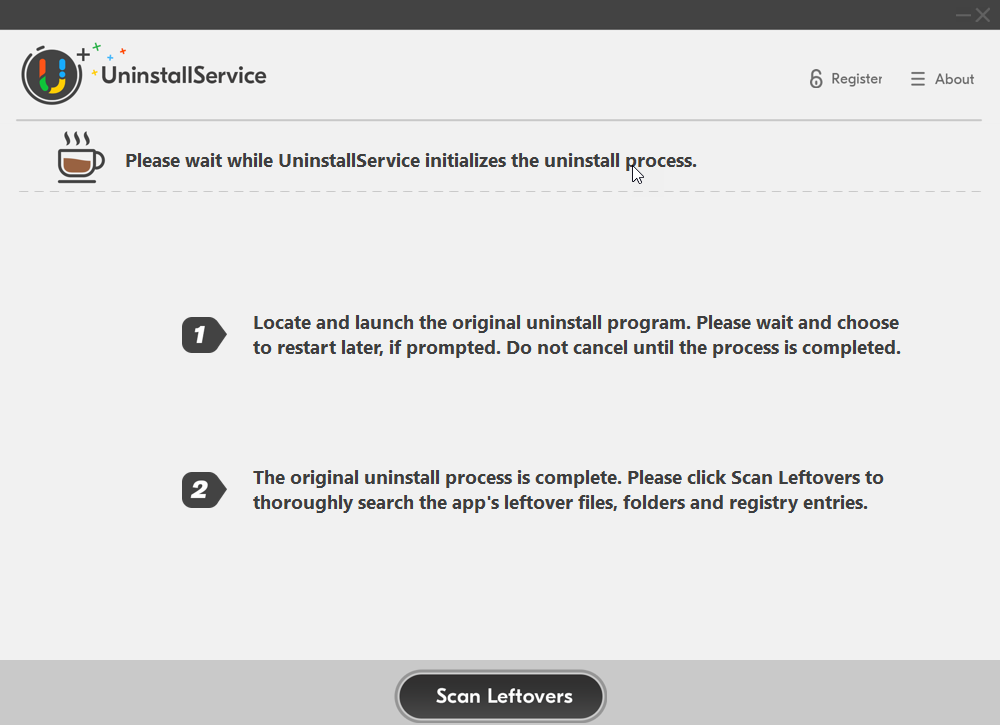

3. Delete the remaining files of Take-it Still Camera Device.
When the last part is done, you will see the Scan Leftovers button, click it to find out all the remaining files that may hide in different folders. Also keep all the items checked, and click Delete Leftovers to completely uninstall Take-it Still Camera Device.
When it says “Take-it Still Camera Device has been completely removed,” click “Back to Step 1” to refresh the programs list. Take-it Still Camera Device should no longer be there, and you can try UninstallService on any other program you wish to remove. Are you sold?
Some More Tips
Besides uninstalling needless programs in the system, there are many other ways to optimize your computer’s performance. For instance:

- Run fewer programs at the startup.
- Close the programs/web pages/emails that you’re done working with.
- Don’t use more than one antivirus product.
- Keep all the hardware drivers up-to-date.
- Use the “High Performance” Power Plan.
- Turn off unneeded visual effects.
These should be the easiest to reach and realize. Surely you can get more other maintenance tips on the Internet, and they are all free. I do hope this page has provided the most practical information you’re looking for.